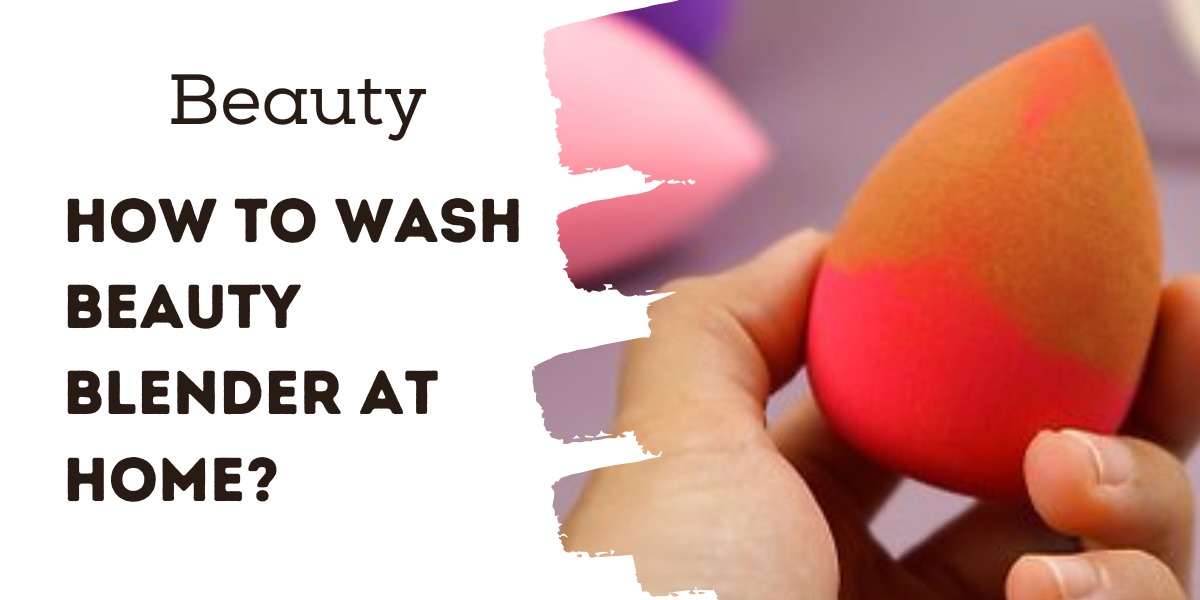
A beauty blender is a versatile and essential tool for any makeup enthusiast. It helps create a flawless finish and ensures the even application of makeup. However, with frequent use, it can accumulate dirt, bacteria, and makeup residue, making it crucial to clean the tool regularly.
Washing your beauty blender at home is an easy task that requires minimal effort and can save you time and money. In this article, we will guide you through the step-by-step process of how to wash your beauty blender at home.

Step-by-Step Guide:
- Step 1: Wet the Beauty Blender
The first step in cleaning your beauty blender is to wet it thoroughly. Hold it under running water, and make sure it is completely saturated. Squeeze it a few times to ensure that it is fully soaked.
- Step 2: Apply Cleanser
Next, apply a small amount of gentle cleanser to the beauty blender. There are various cleansers available in the market, but we recommend using a soap-free and fragrance-free cleanser to avoid any skin irritation. Apply the cleanser to the areas that have accumulated makeup residue, and gently massage the beauty blender.
- Step 3: Work the Cleanser into the Blender
After applying the cleanser, work it into the beauty blender by squeezing it gently. Make sure to focus on the areas where makeup residue has accumulated. You can also use a textured surface, like a silicone pad or a brush cleaning mat, to help work the cleanser into the blender.
- Step 4: Rinse the Blender
Once you have worked the cleanser into the beauty blender, rinse it thoroughly under running water. Make sure to squeeze out all the excess water and repeat the rinsing process until the water runs clear.
- Step 5: Squeeze Out Excess Water
After rinsing, gently squeeze out the excess water from the beauty blender. Do not twist or wring the blender, as this can damage the material and affect its performance.
- Step 6: Dry the Blender
Lastly, dry the beauty blender by placing it on a clean towel and leaving it to air dry. Do not use a hairdryer or any other heat source to speed up the drying process, as this can damage the material and affect its performance.
Bonus Tips:
- Clean your beauty blender after every use to maintain good hygiene and extend its life.
- Avoid using harsh soaps, as they can damage the material and cause skin irritation.
- Use a textured surface, like a silicone pad or a brush cleaning mat, to help work the cleanser into the blender.
- Replace your beauty blender every three to six months, depending on the frequency of use.
Cleaning your beauty blender is a crucial part of maintaining good hygiene and extending the life of the tool. By following the step-by-step guide provided in this article, you can easily wash your beauty blender at home with minimal effort and save yourself time and money. Make sure to clean your beauty blender regularly, and replace it every three to six months to ensure optimal performance.


